The Prepping for BABE8 has begun.

Preparations are underway for this years Big Apple to Big Easy Rally (BABE8)

The team is assembled.  JD and Diane will be representing the Fool Injected flag in 2013

Kevin, our teammate from last year will be fielding his own team on the epic journey to New Orleans.

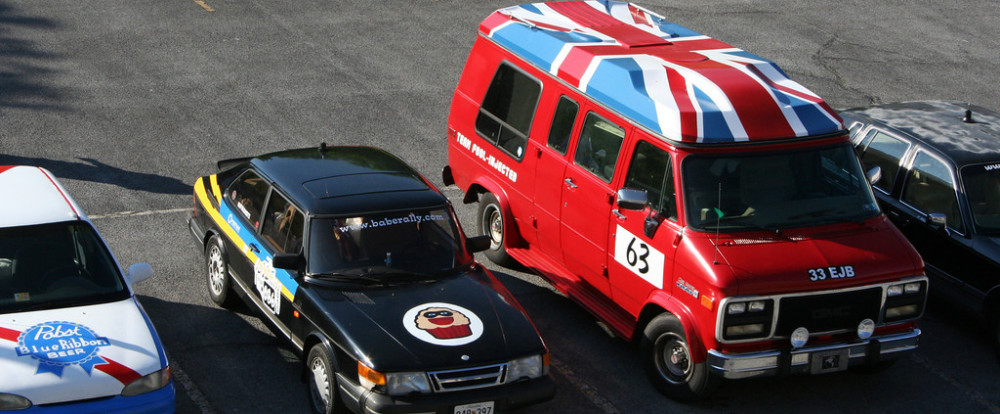
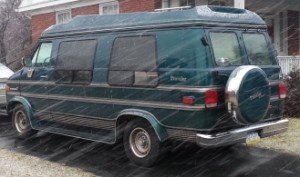
Registration has been paid, time off approved, and last night a $500 van was brought home!  A 1994 GMC “Vandura”  conversion van.

van deliveredIt hasn’t been on the road since 2011 and needs a little bit of everything.

The good news is I was able to drive it home.  It didn’t come home on the back of a u-haul trailer like the Rambler from last years extravaganza.


Pre-trip push to get ready for BABE 2012

There haven’t been any updates on the Rambler since the final thrash to get the car ready for the trip.

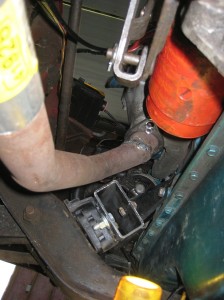
The radiator was relocated to fit the bigger engine, and new hoses were sourced.

The gas tank needed attention.  There was a patch that wasn’t holding where a previous owner had hit something. The tank wasn’t gummed up inside but it was rusty.  I used POR15 products to clean it out and eat the rust. I tried electrolysis to remove the rust.  It worked, but since it works by line of sight and I only had a rod down the middle it didn’t work as well as I had hoped.  Some more POR15 cleaner and metal prep and I called it good enough.  I have some gas tank sealer but I am afraid to use it.  I don’t know how to assure I can get complete coverage and because of the shape of the tank, draining out any excess will be difficult so I used some JB Weld stick to patch the holes.

The brakes were next and needed completely redone.  The existing hard lines were completely replaced.  There were multiple compression fitting on the old lines and some of them were very rusty.  The rear wheel cylinders weren’t leaking but they got new seal kits.  The front cylinders were completely shot.  I tried honing them, but the corrosion was so bad they were replaced.  New brake shoes were installed front and rear, and new drums in the rear finished out the brake rebuild.

The vacuum wiper motor was pulled apart, cleaned and re-greased.  With some Rain-x and a wet windshield the wipers work okay.  Unfortunately I wasn’t able to use the electric wiper I found at the salvage yard.  It would not work without the wiper levers from an electric wiper car.  It turns out the vacuum pump goes back and forth; the electric motor goes around in a circle requiring a different linkage.

There were multiple electrical issue with the lights.  The turn signals and brake lights were not working.  Kevin was over troubleshooting the electrical while I was working on the brakes.  He found some mouse eaten wires in spare tire carrier.  Some splicing, some cleaning, and fuse replacements and the lights were working.  A license plate light was connected to the old wiring, and a new ground was run to the bumper for the backup lights.  There backup light switch under the column was broken, so a toggle switch was installed under the dash.

With the brakes, lights, and wipers working the car got an inspection sticker!  With the new sticker I thought the car would be ready for the trip.

I was now able to start really driving it around town.  That is when I found out that third gear wasn’t working, and first gear wasn’t working well.  I suspected a sticking third gear valve so I put in some seafoam cleaner in and started putting the mile on it hoping it would free up.  60 miles later and I still didn’t have 3rd gear.  I put some Lucas transmission fix in hoping maybe that would would help, but it didn’t.  A day before the rally, I gathered up the 2 spare transmissions I had.  Unfortunately; the one from the ’59 torque tube car had a different linkage setup, and a different transmission mount.  The transmission from the ’65 Rambler American was an open driveshaft car and wouldn’t work with the torque tube setup in the ’63 Classic.  I had hoped I could swap the tailshafts between the cars but the bolt patterns didn’t match. Sunday morning before leaving for the rally I remembered the seller who I bought the rebuilt engine from had a torque tube transmission.  I called him up and he still has the transmission but he wasn’t available to meet us before we left for NY.

Because third gear wasn’t working, the car topped out at 55 mph.  When running at that speed the temp gauge would go through the roof.  I wonder if the transmission was broken before, and the reason the engine had blown a hole through the block was that the previous owner had been driving it on the highway in 2nd gear.

Sadly the Rambler never left the driveway on the epic journey from New York to New Orleans.

The good news is we still made the trip.  We took plan “B” a 1992 Pontiac Bonneville.
Exhaust is almost done

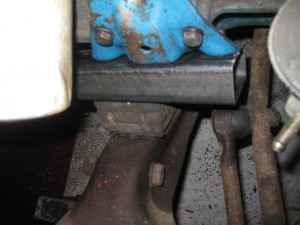
The exhaust is closer to being done.  The existing pipe wouldn’t clear the new motor mount.  After a couple of cuts with the sawzall, a lot of measuring and grinding I put the necessary offset into the exhaust.   I didn’t snap any pictures of the during process but it involved cutting the flange off to give me something to build from.  I had ordered some mandrel bend tubing but it was easier just to adapt the old exhaust tubing to the new engine.

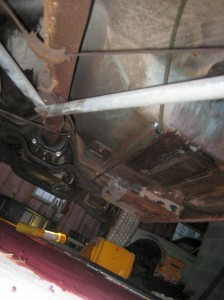
The pipes are hanging a little lower than I would like.  I’ll take another look at it before I clamp up the connectors.  

Checking tasks off the list

After the score at the scrapyard, and an Easter break, I have been working on connecting everything back up.  The replacement fuel line are in. I still need to install the fuel tank.


The oil was changed, and the transmission pan is bolted back up.  The transmission linkage is reconnected and the travel seems to work good.  I have been looking at carb linkage solutions and by combining parts from the original, and parts from the donor car I think I have a plan.  More to come once it is hooked up.

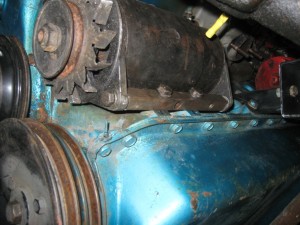
The generator bracket needed some new holes to bolt up to the new engine.

Hopefully I didn’t weaken the bracket too much.  I guess there is one way to find out.

All bolted up.  I need to get a shorter fan belt.

Once the car is running and on the road I am going to look into replacing the generator with a modern alternator.


Successful trip to the junkyard

After a Thursday night of wrenching, a shopping list of things I needed, and a vacation day in front of me, I decided to make a trip tor one of the u-pull-it yards.

I didn’t have much faith that there would be any AMCs from the 60’s.  I expected most have met the crusher, or been stripped to the bone, but a day not working, wandering around a scrapyard, is a good day.

Initially I was disappointed, I was looking for a carb spacer that I haven’t been able to find for sale anywhere.  It must be made of unobtanium.

There were surprisingly few AMCs. I must be getting old, but I expected to find some AMC eagles, or hornets floating around but the pickings were slim.  Wandering around the “old car” section all of the sudden I looked up and there she was, a 1965 Rambler 660 Classic, 

It must be divine intervention.  The inspection sticker on the windshield was from 1985, but it looked like it had been recently dropped off in the yard.  It hadn’t been stripped bare yet.  The interior was surprisingly complete (except for the completely rotted out floor).

I couldn’t get the hood open.  This was a good sign since it meant that maybe the allusive carb spacer was under there.  After some tugging and some work with a 1/4 inch socket I was able to get it open.  I think I heard angels singing when the crusty hood revealed what was hiding underneath it.  Maybe it wasn’t angels, it might have been an allergic reaction to all of the iron oxide.  Under the hood was an untouched 199 or 232 6 cylinder engine sitting in a Rambler.  There was lots of parts I needed to resurrect my ’63 wagon.  After stripping off everything I thought I needed, I was back home with a nice pile of parts.  A radiator with the mounting brackets on the correct side.  An electric windshield wiper motor, if my vacuum wiper doesn’t work.  An air cleaner housing, holly carb, carb linkage, steel heater hose line, kickdown bracket, inside door handles, some firecrackers, and the infamous carb spacer!  

New engine installed

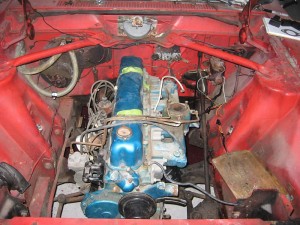
I spent some quality time in the garage with Kevin and Steve last night and the engine is now installed!  Thanks guys for the help. The new motor mounts look good.  We got the torque tube and universal joint mated back up.

All bolted up.

Now it is time to start hooking the accessories back up and see if this engine will run.

The exhaust will need some adjustment.  It looks like the generator and mounting bracket from the 196 will bolt up, or maybe I’ll replace it with a newer alternator.  I need to find or make a carb spacer.  The throttle linkage will need to be figured out. The radiator needs to be relocated forward.  That’s a start.


Fuel lines will need work

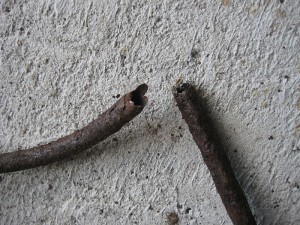
I knew the fuel lines were going to need some attention.  It already had a piece of rubber spliced in where there should be steel lines, and the rest of the lines didn’t look good.  I started to pull out the old lines and my fears were confirmed.  

All of the line looks like this, but not as fragile.  New lines are on the to do list.

Brake lines are also on the to do list.  Most of them look like they have been replaced at some point.  Unfortunately they used compression fittings in more than one place.

New motor mount fabrication

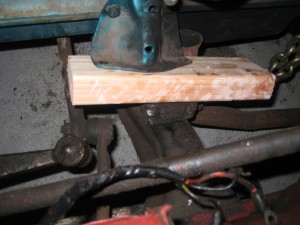
Now that I had an engine I needed to figure out how to get it transplanted.  With the torque converter off to save time, we strapped it to the hoist and it almost looked like it would bolt up to the factory 232 mounts.  It needs to be raised up so the oil pan cleared the cross member and moved forward so the transmission will bolt up to the torquetube.  Checking with some of the members on the AMC forums it didn’t sound too tough.  After some test fitting some pieces of 2x4s there is a plan.  I don't think the pine would last but the size is right.

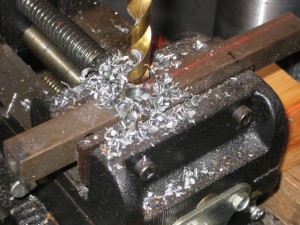
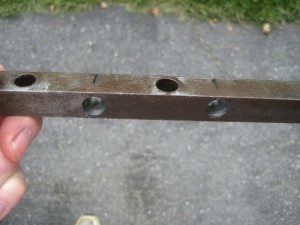
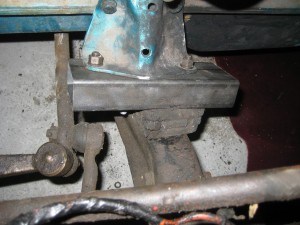
After picking up 2 pieces of rectangular tubing from my favorite weld shop, it was time to start measuring.  The left side was easy enough.  I just needed to center the tube, and drill some holes top and bottom.

Left side

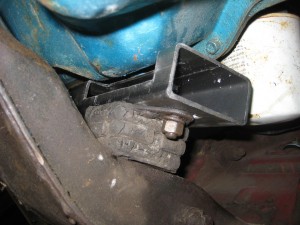
The right side had some clearance problems with the oil pan.  Nothing that a 4″ cut off wheel couldn’t take care of.

Now it fits

Now to pull the engine back out, get the torque converter back in and bolt her down (hopefully) for good.